IL-44: Dynamic testing - small loads and optical deformation tracking
Our latest electrodynamic testing machines allow fatigue testing with calibrated loads from 4 N. Combined with DIC (Digital Image Correlation), this opens up the world of optical deformation tracking at specific locations, even during dynamic testing.
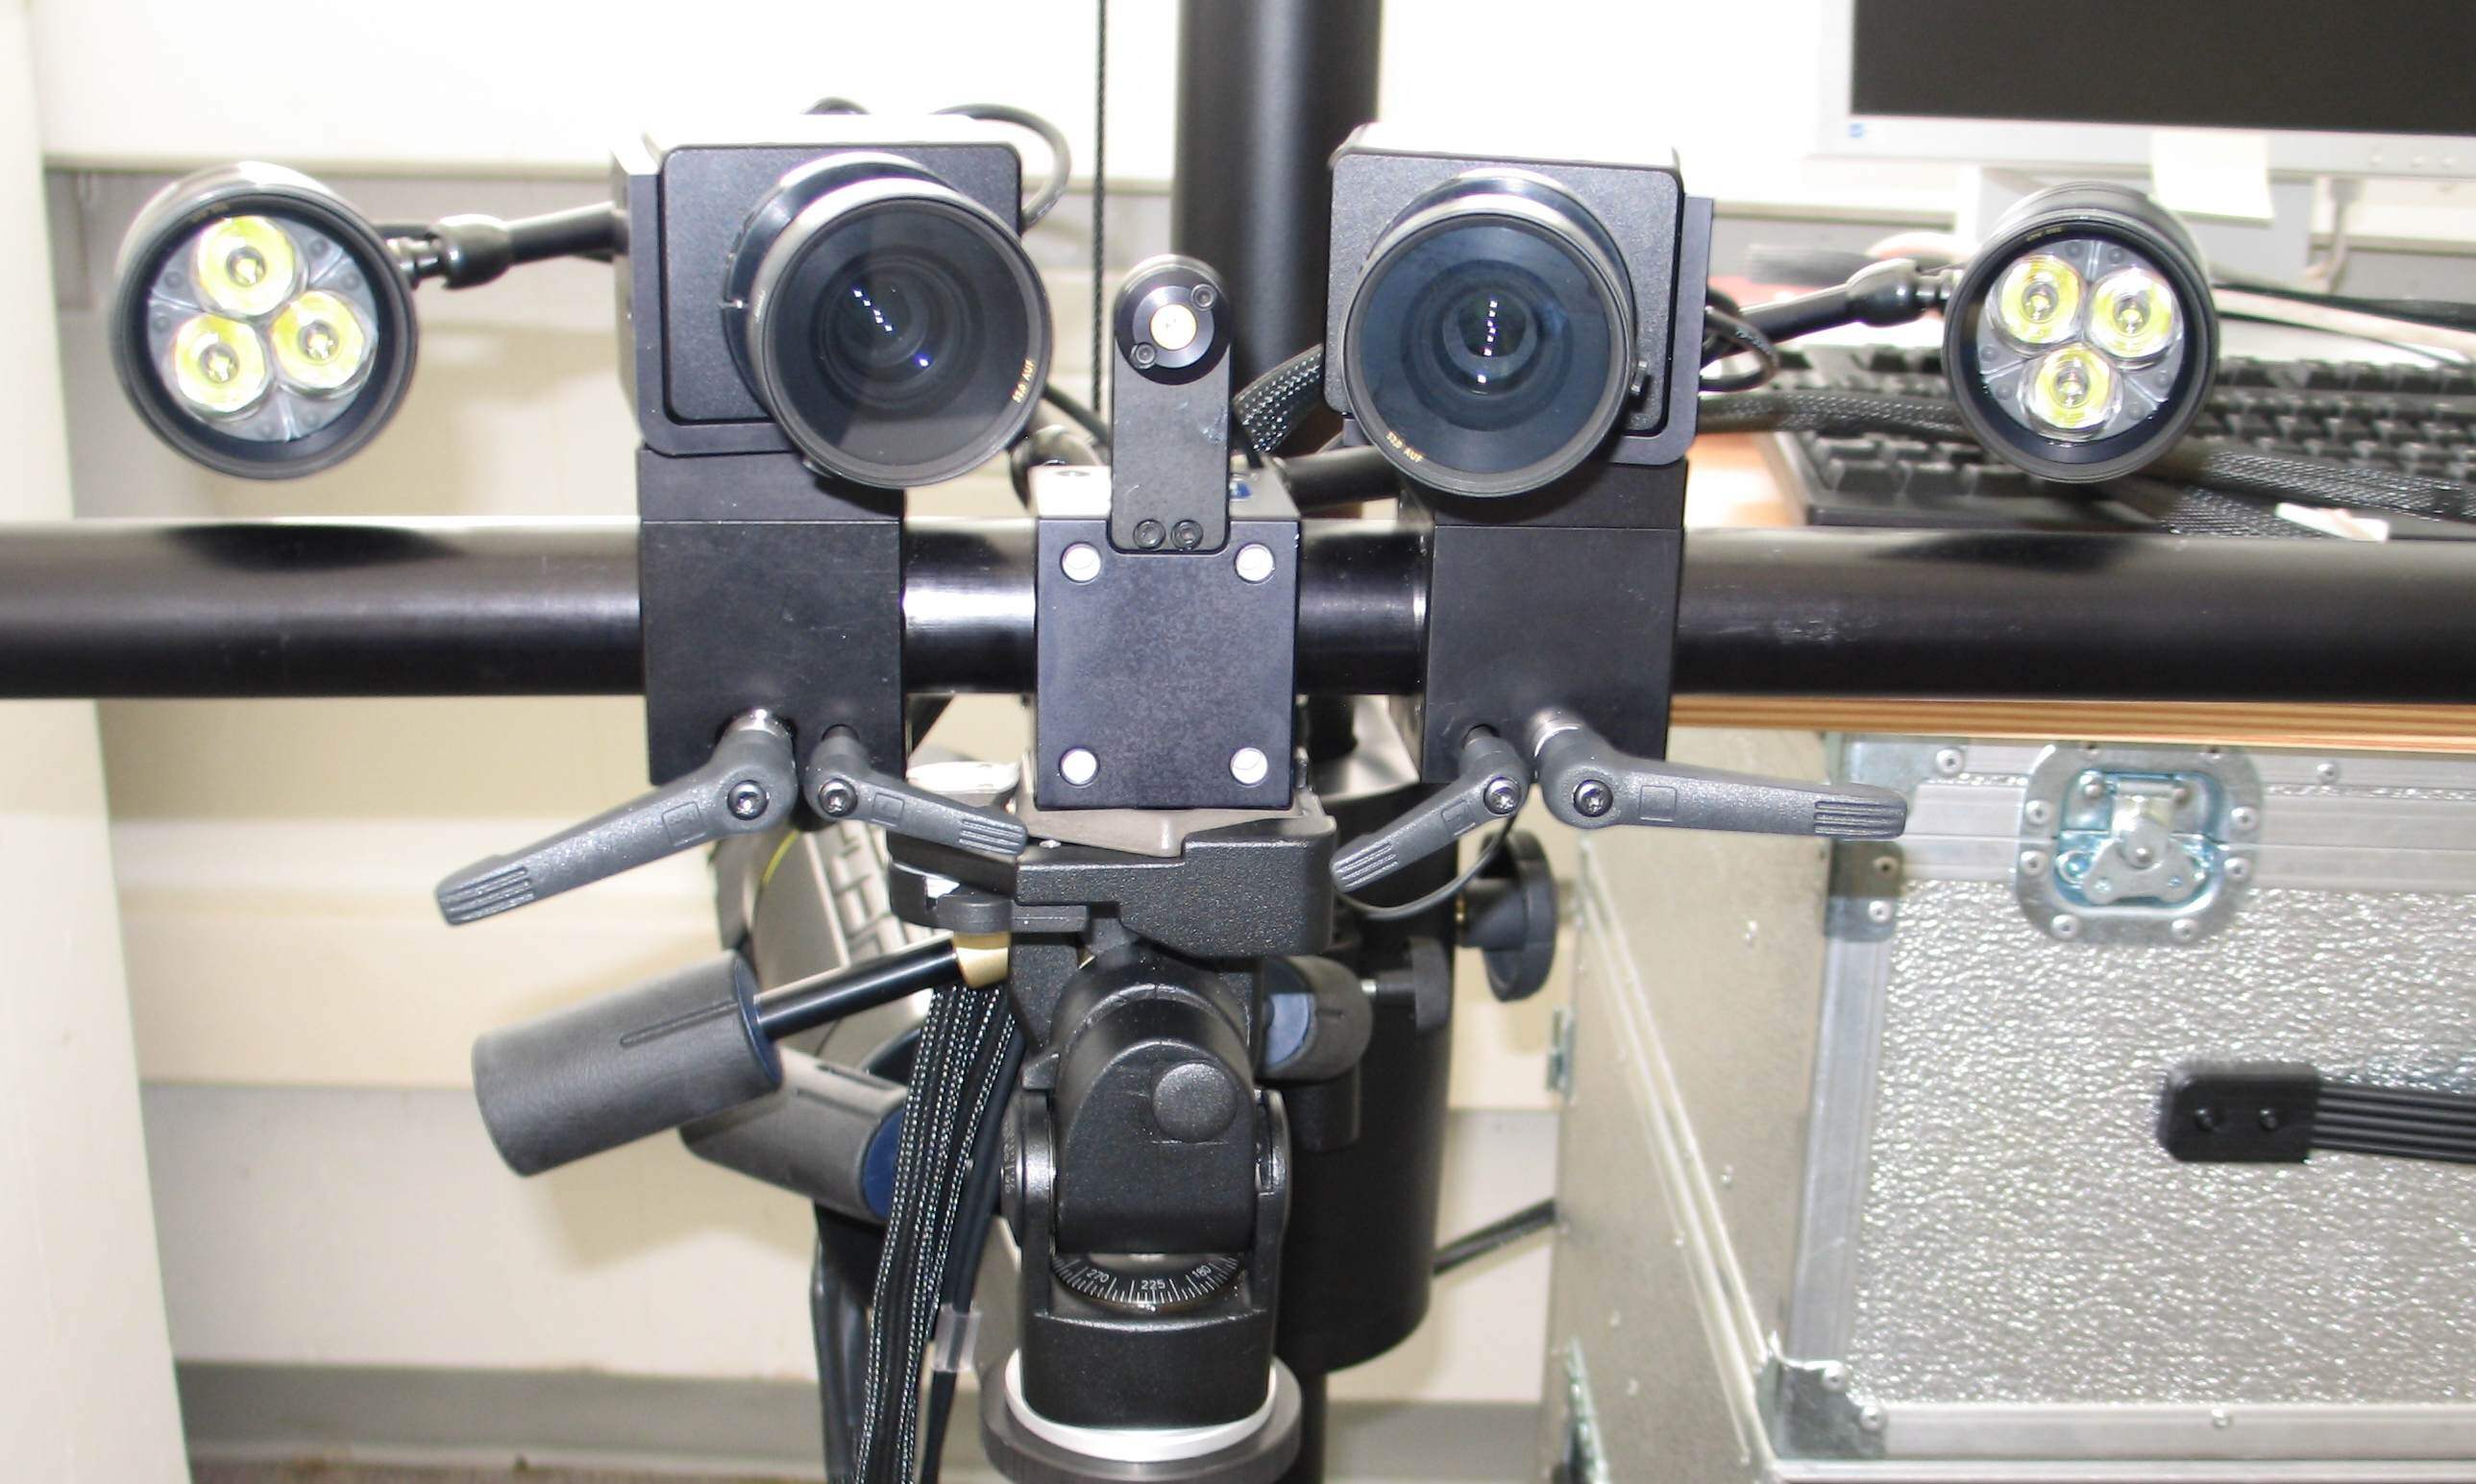
![]() An outstanding feature of our new electrodynamic testing machines (Figure 1) is their ability to perform fatigue tests with impressive precision from very low forces of just 4 N (in the case of the LTM 1) up to 10 kN on the LTM 10. The high control quality of these machines compared to other machine manufacturers allows us to test even the smallest and most sensitive products and materials for their fatigue resistance and to generate knowledge about failure patterns. We are also extending the capabilities of product and material testing by integrating Digital Image Correlation (DIC) technology into dynamic testing. This allows the deformation of surfaces or specific areas of specimens to be recorded as tests are carried out. By taking images at regular intervals, for example every 100 cycles, we can obtain detailed information about the deformation of the specimen during the test. Once the DIC system is set up and is communicating with the test machine, images and measurement data can be captured automatically over a long period of time, even days if required.
An outstanding feature of our new electrodynamic testing machines (Figure 1) is their ability to perform fatigue tests with impressive precision from very low forces of just 4 N (in the case of the LTM 1) up to 10 kN on the LTM 10. The high control quality of these machines compared to other machine manufacturers allows us to test even the smallest and most sensitive products and materials for their fatigue resistance and to generate knowledge about failure patterns. We are also extending the capabilities of product and material testing by integrating Digital Image Correlation (DIC) technology into dynamic testing. This allows the deformation of surfaces or specific areas of specimens to be recorded as tests are carried out. By taking images at regular intervals, for example every 100 cycles, we can obtain detailed information about the deformation of the specimen during the test. Once the DIC system is set up and is communicating with the test machine, images and measurement data can be captured automatically over a long period of time, even days if required.
Figure 1: Fatigue test on an osteosynthesis plate, prepared for evaluation using the DIC method.
![]()
Figure 2 shows the opening of the fracture gap in a pelvic bone model. The aim of this research project was to compare different fracture treatment strategies under dynamic loading. In this way, point distances can be tracked at any number of locations and the widening of the fracture gap in terms of mechanical fatigue can be simulated, while geometric data can also be obtained. This data was used to assess which procedure or treatment would lead to better biomechanical results.
Figure 2: Optical measurement of point distances at a fracture gap opening using DIC on a dynamically loaded pelvic bone model.
Equipment:
• 2 x LTM 1 (4 N to 1 kN) from Zwick Roell
• 1 x LTM 3 (12 N to 3 kN) from Zwick Roell
• 1 x LTM 10 (40 N to 10 kN) from Zwick Roell
• ATOS Core Essential Line with ATOS Core 5M 300 sensor from GOM
Applications:
• The electrodynamic testing machines are calibrated from 0.4% of the nominal load according to DAkkS
• Maximum measuring range of the ATOS Core sensor: 300 x 230 mm
• Maximum image acquisition rate: 7 Hz


