IL-2: Do you know the fatigue strength of your components?
The components, component parts and products are developed and produced for very specific uses. It is frequently the fatigue strength that is decisive for the operational reliability, on which the design, the choice of materials, but also the surface design have quite a substantial influence. The static strength can be assessed by simpler means. A confirmation of the operating safety by assessing the fatigue strength is much more elaborate and generally calls for a dynamic functional test.
The RMS has a series of appliances at its disposal. Among them are those for the uniaxial and multiaxial dynamic testing of material specimens, components and component parts under various loads. We have a long experience in fatigue testing and are able to give you an answer as well to your questions about the component fatigue.
Influence of Surface structuring
Treating the surface of components by blasting and/or laser marking them influences very significantly the endurance strength. A comparison of bending specimens made of a titanium alloy (Ti6Al7Nb) in the 4-point bending test on a uniaxial hydropulsator (sinusoidal compressive load R = 0.1; test frequency = 5 Hz, test duration = 5 million cycles) revealed that the wet blasting with Al2O3 particles reduced the endurance strength by 20%. Once the laser marking was applied in the area of compressive load of the specimen, the endurance strength did not decrease any further. Yet, if the laser marking was applied in the area of tensile load, the endurance strength of the specimen dropped to 30% of the original value.
![]() Figure 1: Bending specimen in the 4-point bending test
Figure 1: Bending specimen in the 4-point bending test
Change of structure or layer adhesion
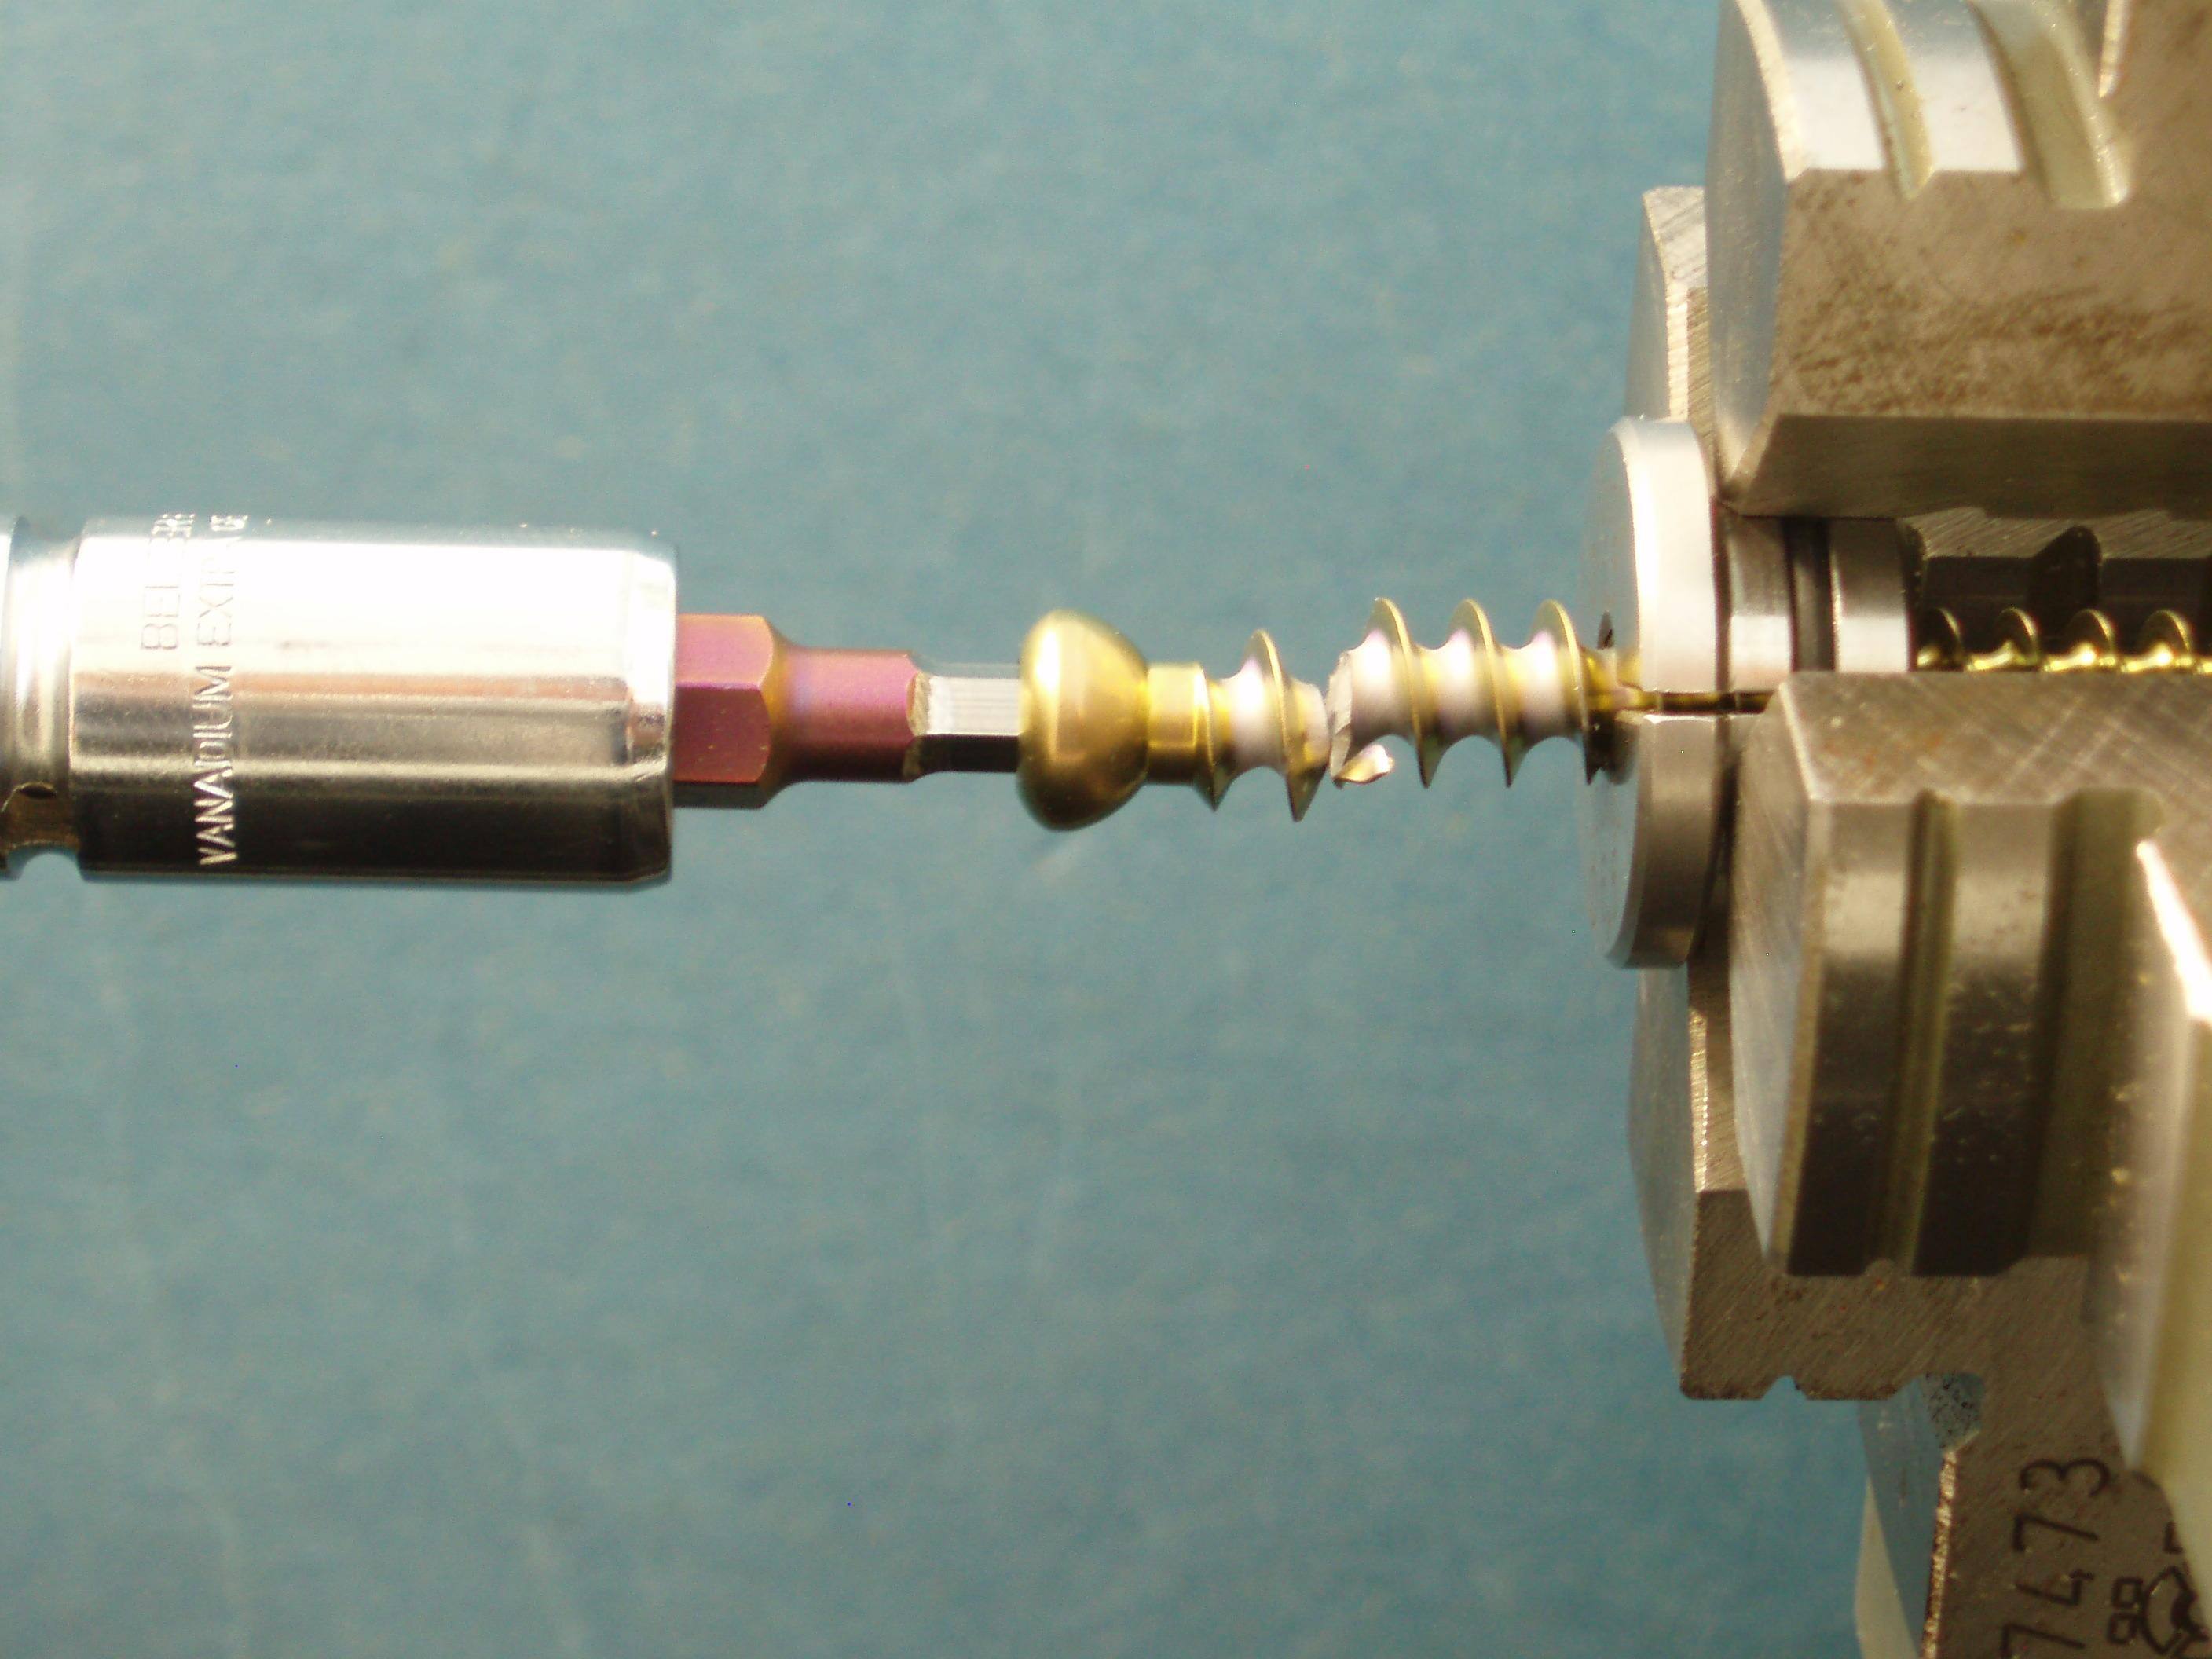
Rotating bending tests with standard specimens according to DIN 50113 or cylindrical components are very well suited for assessing the fatigue strength after a thermal treatment, for checking a welded connexion or a layer adhesion. For this, the specimens are rotated under bending load until failure occurs. In material specimens made of stainless steel 1.4310, a partial austeniting reduced the fatigue strength by 10 – 20%. The welding with an austenitic specimen resulted in an even clearer loss of the fatigue strength. A comparison of uncoated standard specimens with different coatings for the assessment of the coating adhesion revealed specific problems with the layer or the bonding between the layer and the substrate. An additional scanning electron microscope examination (SEM) of the points of rupture further illustrated this.
![]() Figure 2: Stress-number curve of the measured data: laser marking in the compression area (blue) and the tensile one (red) re-spectively
Figure 2: Stress-number curve of the measured data: laser marking in the compression area (blue) and the tensile one (red) re-spectively
Appliances for the dynamic tests:
The RMS has the following appliances at hand for the dynamic tests:
- Uniaxial: 3 «Schenck S56»- and 2 «Instron Labtronic 8800» Hydropulsator stations (force- or displacement-controlled, sinus course, rectangle one or saw tooth one)
- Multiaxial: 1 servo-hydraulic testing device MTS 858 Mini Bionix (4 degrees of freedom; 3 moment- or angle-controlled axes, one axis of which additionally force- or displacementcontrolled, arbitrary load / displacement profiles)
- Rotating bending test: 1 special self-made appliance; different special setups for the turning lathe
![]() Figure 3: Rotating bending test with an uncoated (polished) titanium reference specimen
Figure 3: Rotating bending test with an uncoated (polished) titanium reference specimen

